How to install Ubuntu from a mini.iso over the Internet
Download the ISO image here: http://archive.ubuntu.com/ubuntu/dists/zesty/main/installer-amd64/current/images/netboot/mini.iso.
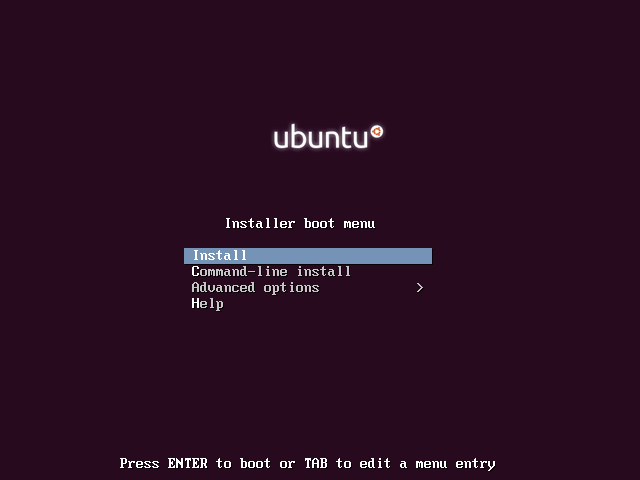
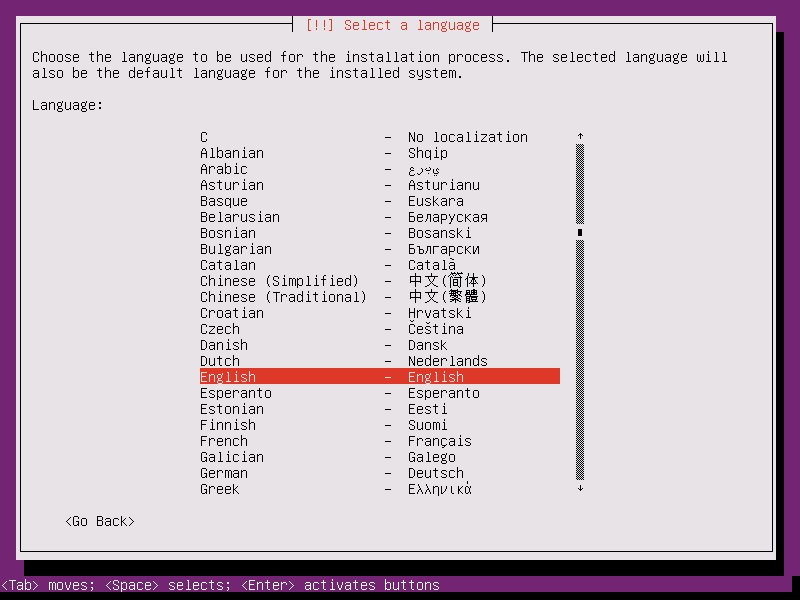
Installing Ubuntu minimal from a mini.iso is very easy, the netinstall option downloads and installs all packages from the repositories on the Internet. Boot the installer and then select your installation language.
Then set your location, this is important, as it will select a location close to you to fetch packages from.

Then set your keyboard layout. After that, the hardware will be detected.
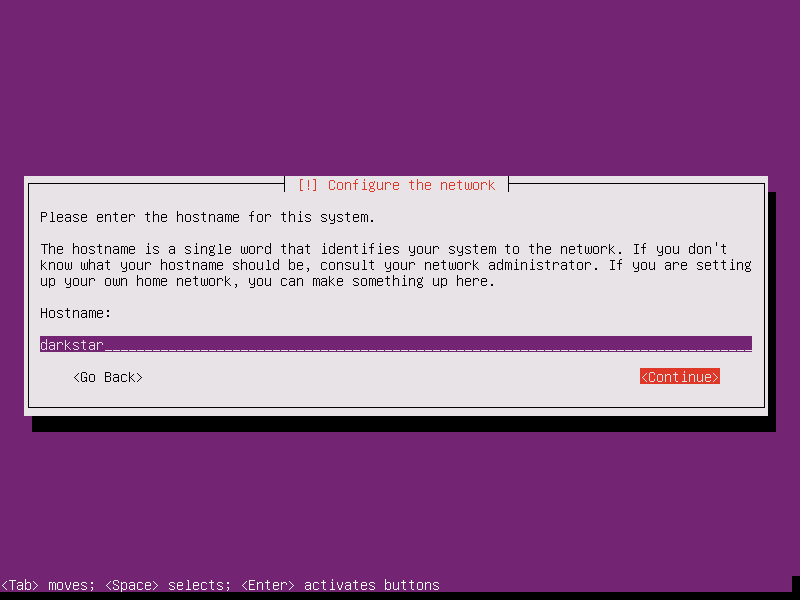
Then set a hostname for your new installation.
After that, select the location of the Ubuntu mirror you desire. This is important, just use the one closest to you and this should be fine.
Then the initial set of packages will be retrieved from the Internet. This will perform the initial setup of your new Ubuntu installation.
After this, you will be asked for a username that you will use to login to your new Ubuntu installation.
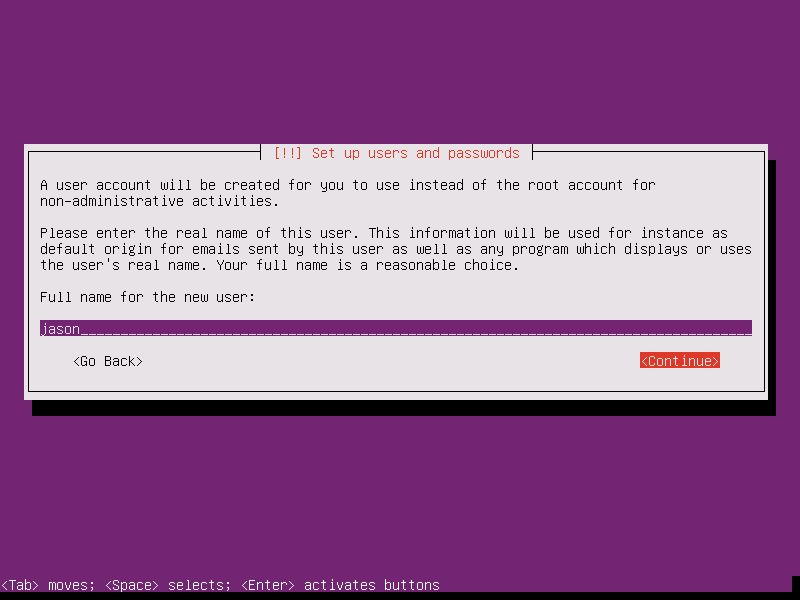
Set the name for the new account, and then the username and the password. Then choose if you wish to encrypt your home directory. After this step, you will be asked if you wish to set the timezone. The timezone shown should be correct, so just press ENTER.
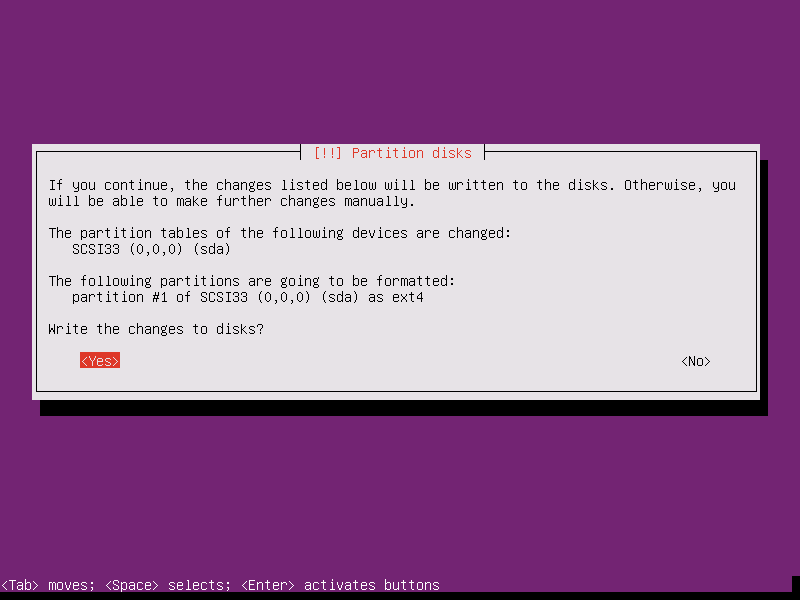
When we come to partitioning, choose the Guided – use entire disk option. This is fine for our purposes. Then select the disk to partition on the next screen. The default disk should be highlighted, so just press ENTER here.
Then the base Ubuntu system will be installed onto the new partition. This installation should not take as long as Gentoo, that took several hours and did not even work properly.
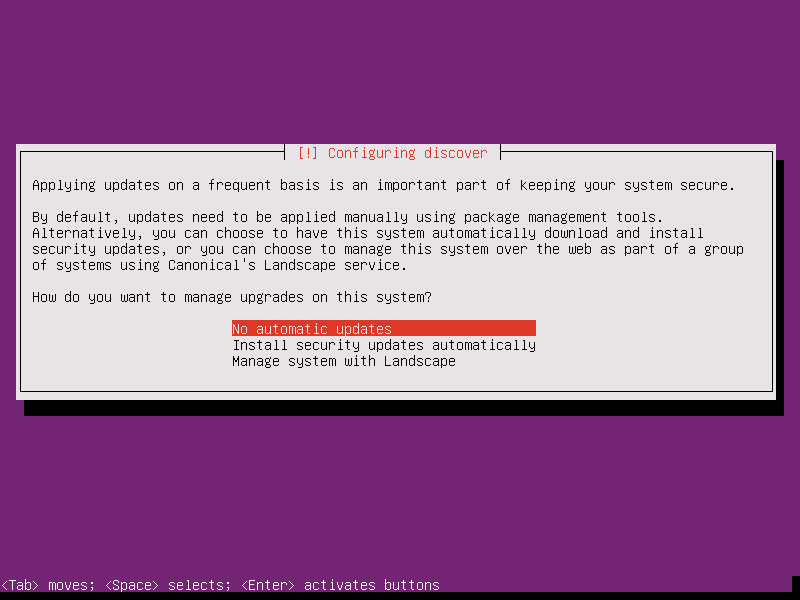
Now we need to select the method for managing updates. I chose to install updates automatically.
Now the Ubuntu desktop option is to be selected. I chose a OpenSSH server and MATE desktop options.

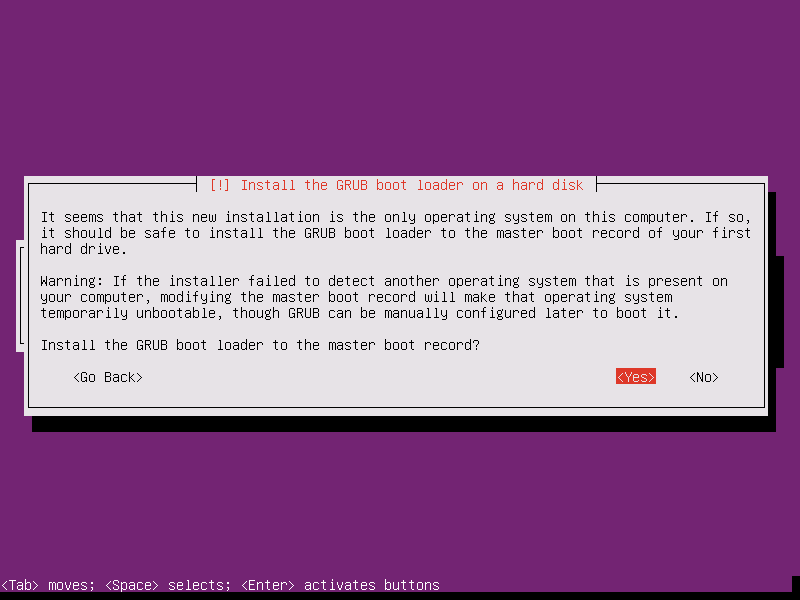
Then the GRUB boot loader may be installed. Since there are no other operating systems on this machine, I can install the boot loader to the master boot record with no issues.
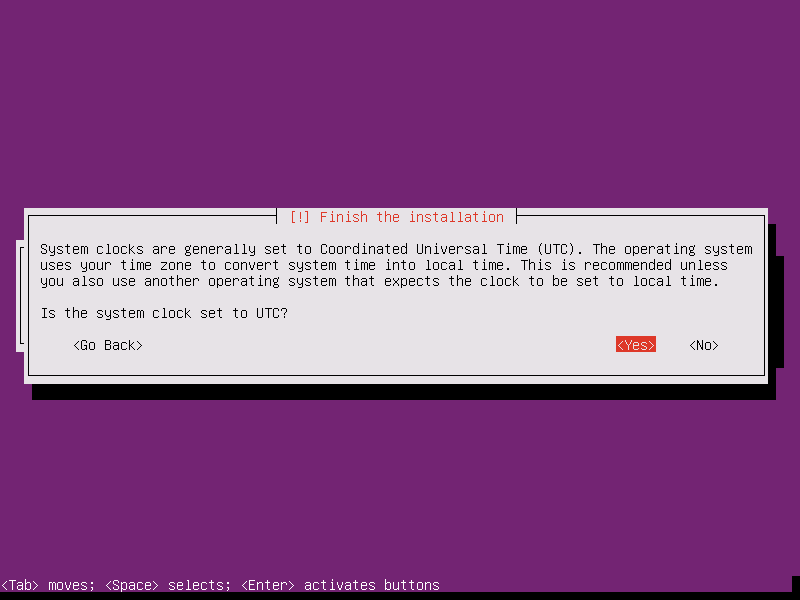
And set up the system clock. I chose not to use UTC.
Then finish the installation and reboot into your new minimal Ubuntu install.
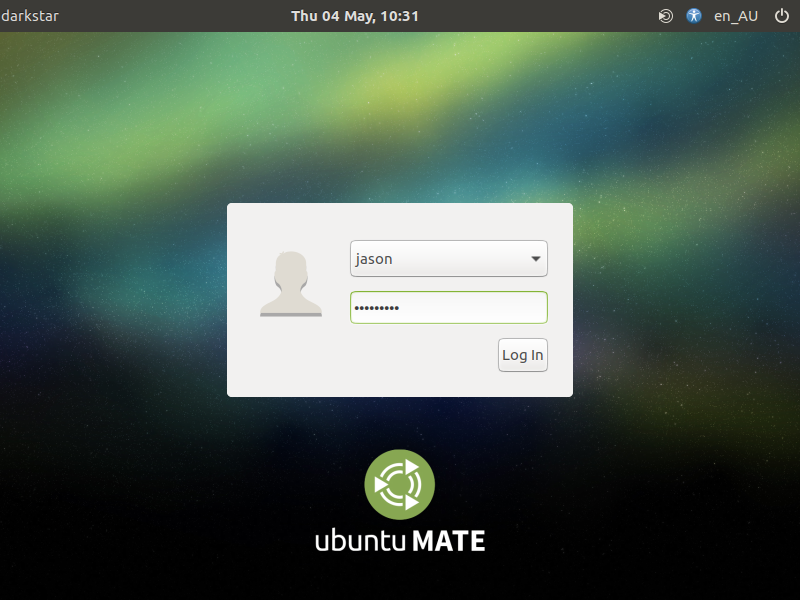
Now I have a nice MATE desktop installed, this is very nice indeed. Now I just need to get all updates installed.