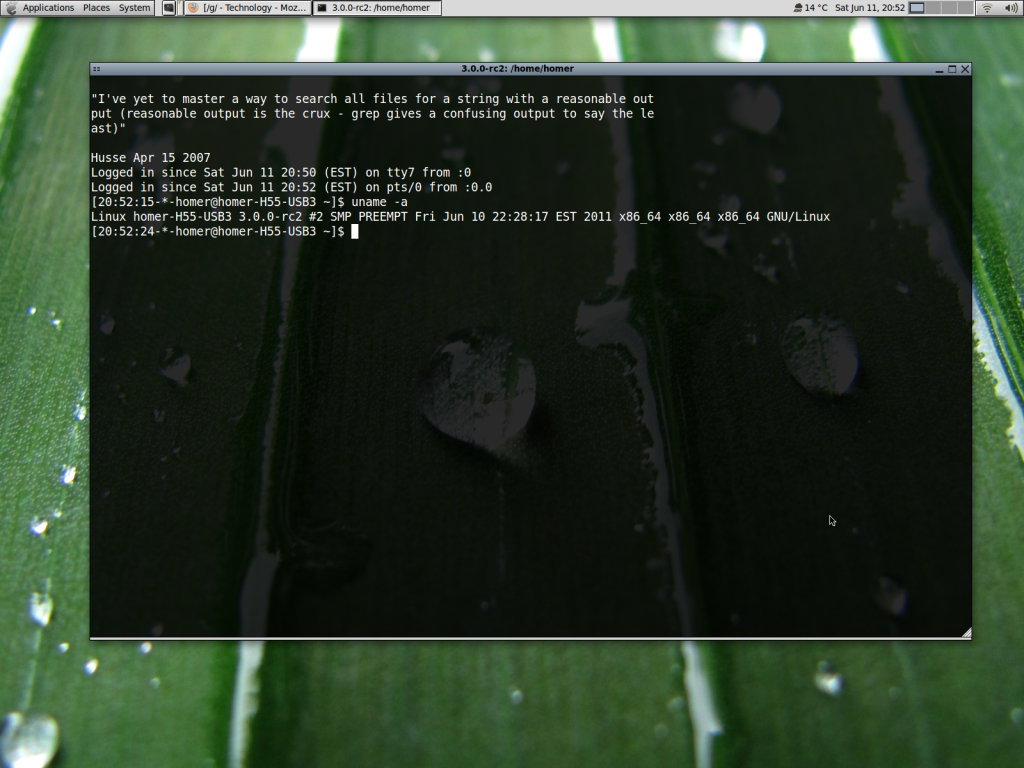
The 3.0.0-rc2 release of the Linux kernel is available on kernel.org finally. This is a whole new numbering series for the Linux kernel that has been in the 2.x.x series for ages. This is very exciting in fact, I downloaded and compiled the new mainline kernel almost as soon as it was announced. It has many new features and runs very fast as well, faster than the 2.6.38 kernel I was running before. This is why I run Linux, so that I can upgrade to the latest Linux kernel when I wish and not be constrained like I am with Windows, where I can get regular updates from Redmond, but I can not download the NT kernel source code and compile my copy to improve on the Windows operating system. I am stuck with what I get stock with Windows. But with Linux I can upgrade the kernel when I want and get the benefits of the newer code in this release. Compiling the kernel on Linux Mint was easy, I just unpacked the kernel source with the tar command like so: tar -jxvf linux-3.0-rc2.tar.bz2 and then after using cd to go into the source folder I typed: make mrproper to make sure the source tree is clean.
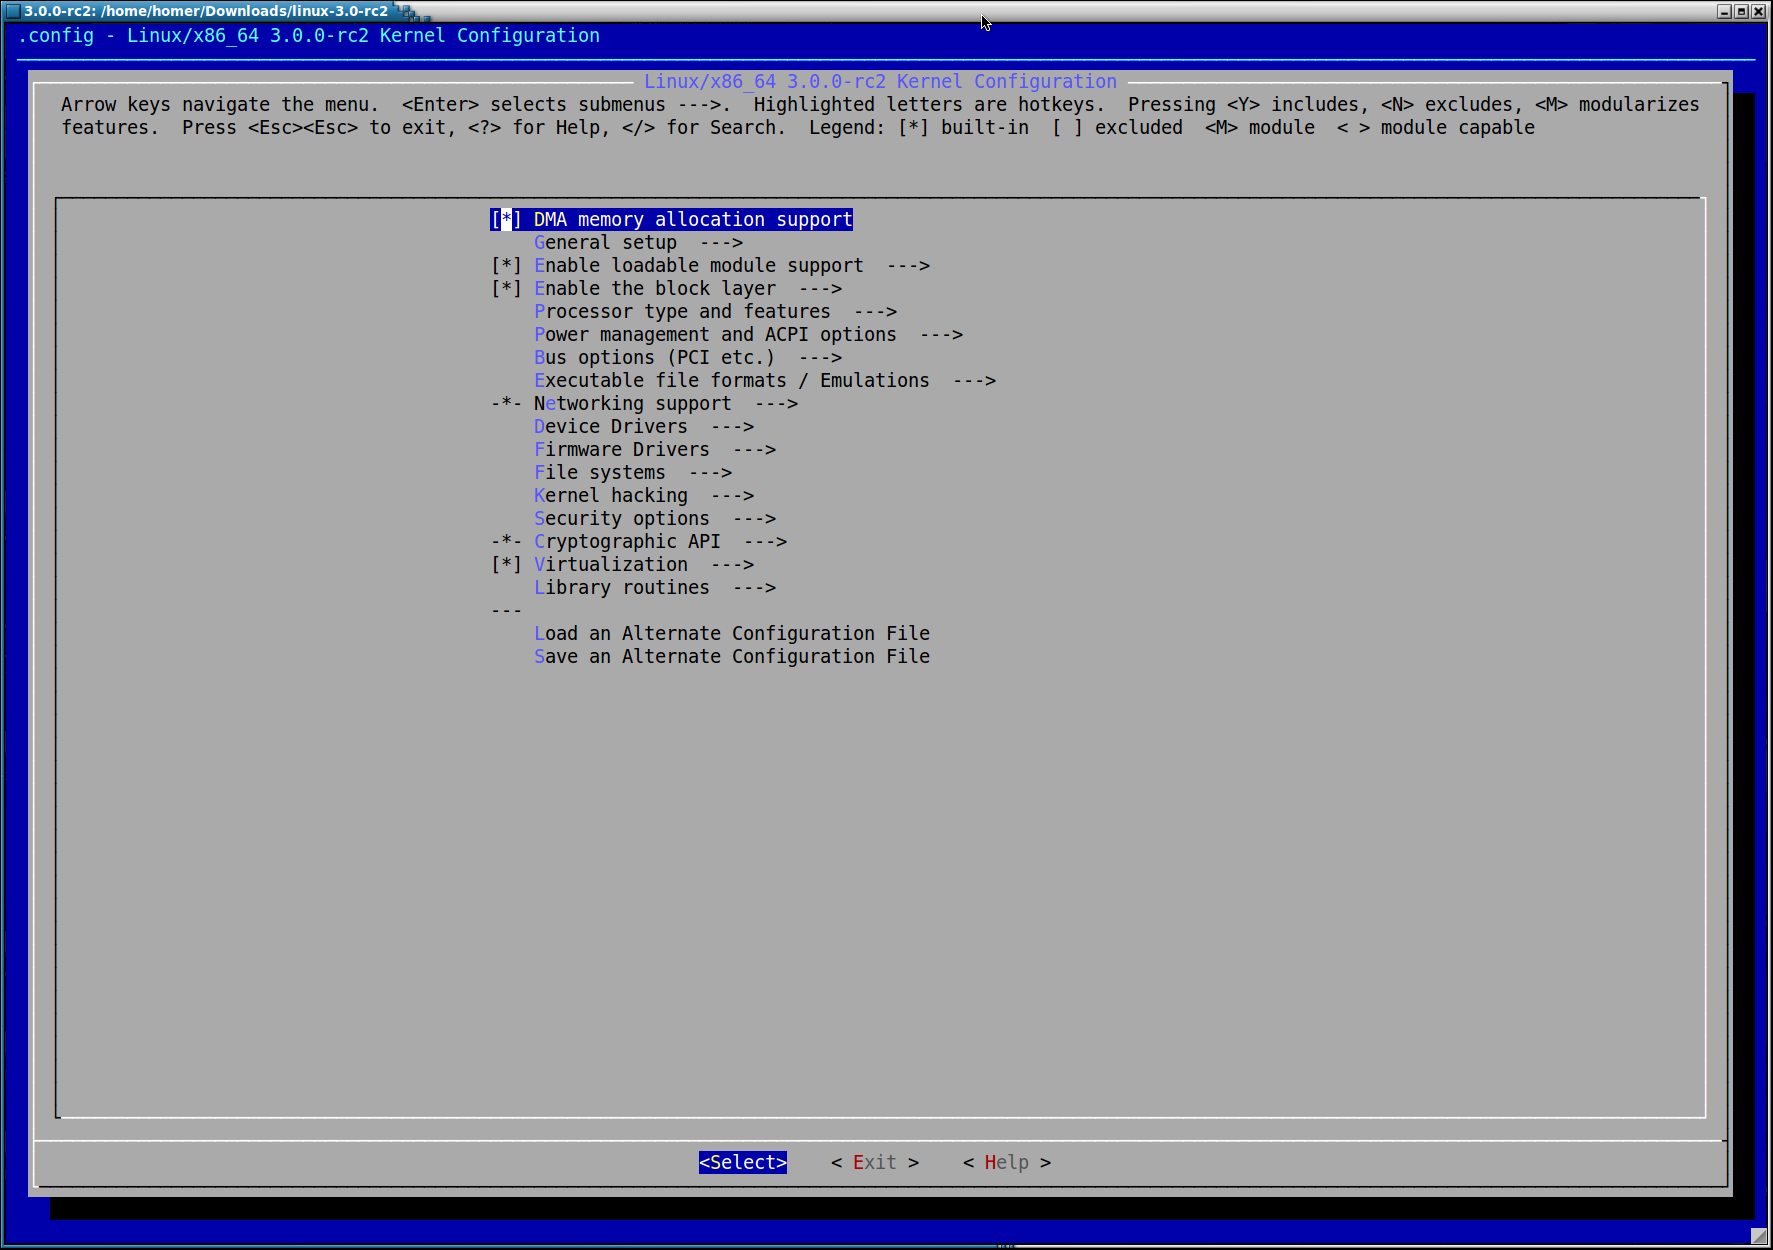
Then you have to copy the exiting kernel`s configuration into the source folder by typing: cp /boot/config-2.6.38-8-generic .config and then you can type make menuconfig to edit the configuration before building. You will then be presented with a screen just like the one above. Once I was done setting up the kernel I exited the menu configuration screen and started the kernel build by typing: make -j4 && make modules this will use all 4 cores of the CPU to build the kernel and speeds it up a bit.

This will not take too long on modern PC, then once it was finished I typed sudo make modules_install to install the kernel modules in /lib. After that type: make install to copy the vmlinuz image and other files to /boot. This will not build the initrd.img automatically, so I had to navigate to the /boot folder and then type sudo mkinitramfs -0 initrd.img-3.0.0-rc2 3.0.0-rc2 to build the initial ram file-system that will bootstrap the kernel. Then after typing sudo update-grub I was all set. I re-booted the machine and selected the 3.0.0-rc2 menu option and the machine booted up to the GDM login screen first time. That is how you install a vanilla kernel on Linux Mint 11. It is very easy indeed. Give it a try and see how easy it is to update your system. Once you are satisfied the kernel is working, navigate to the source folder and type make clean prepare then copy the whole source tree over to the /usr/src folder and then symlink the folder to /usr/src/linux and /usr/src/linux-headers by typing sudo ln -s /usr/src/3.0.0-rc2 /usr/src/linux && sudo ln -s /usr/src/3.0.0-rc2 /usr/src/linux-headers .
Once this is done you will be able to build kernel modules against the kernel source code for the current kernel, e.g Nvidia drivers or the Virtualbox kernel modules. This is really very simple, just follow these easy steps and you will be all set.
