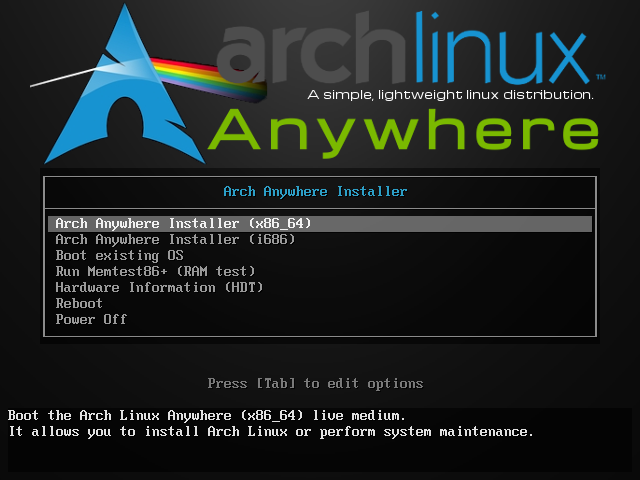
Installing Arch Linux can be a royal pain, but if you use the Arch Anywhere distribution, this will allow easy installation of an Arch Linux system. Download the distribution here.
This Linux distribution will make setting up Arch Linux easier than ever.
Write this ISO to a disc and boot your machine with it, or load it in VMware to test the installation.
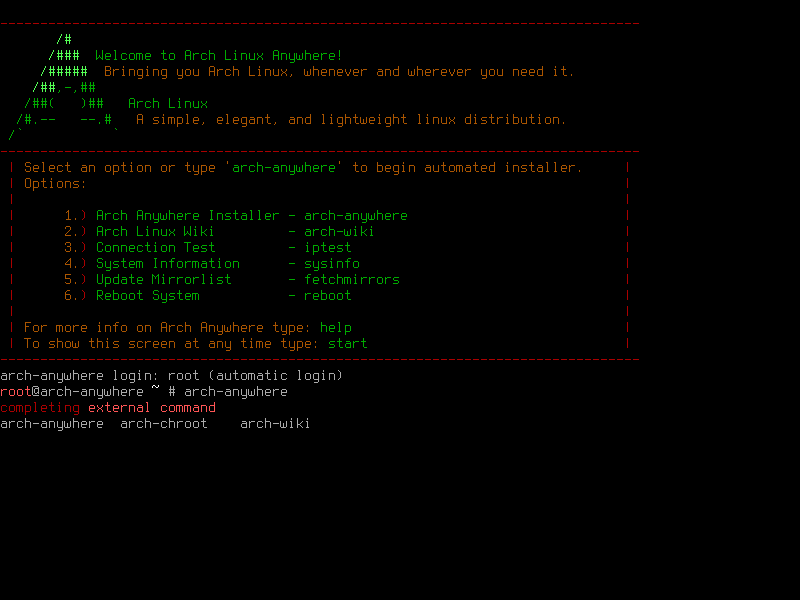
Boot the installation and we are ready to begin.
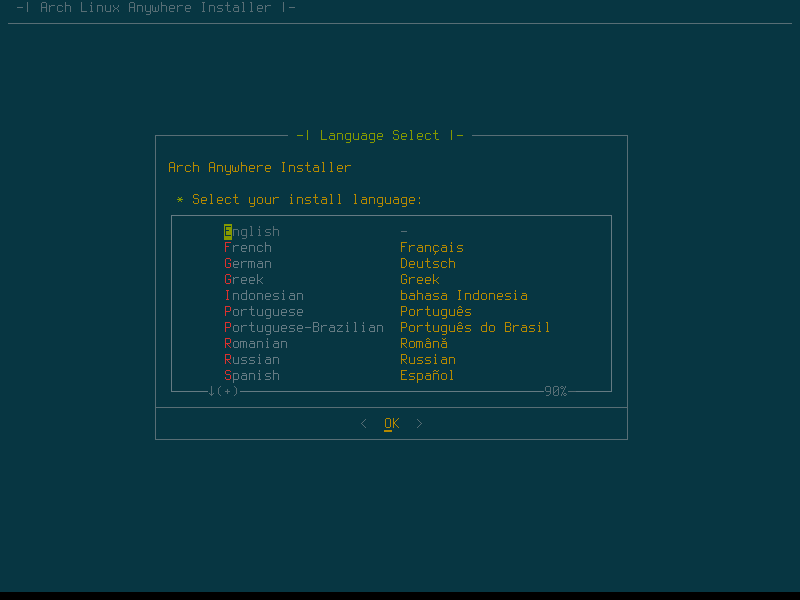
Now select the language to be used for the installation.
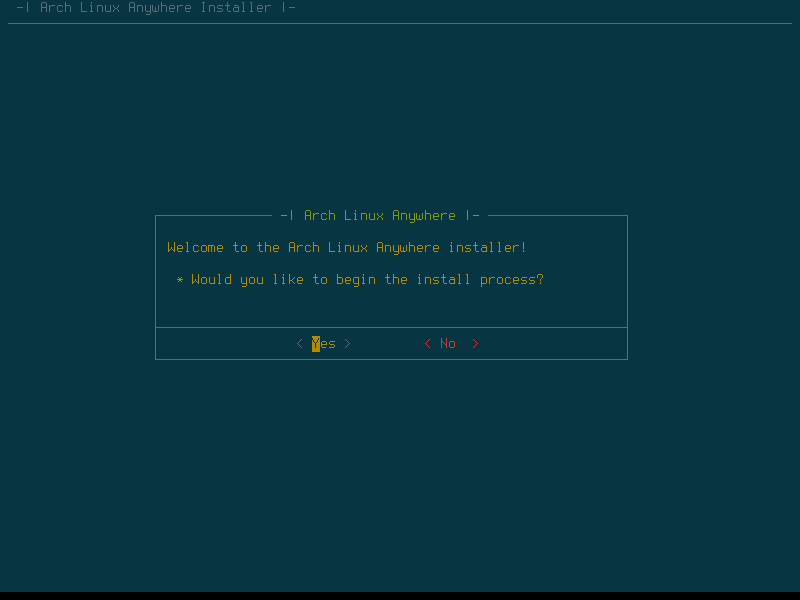
Yes we do want to begin the installation.
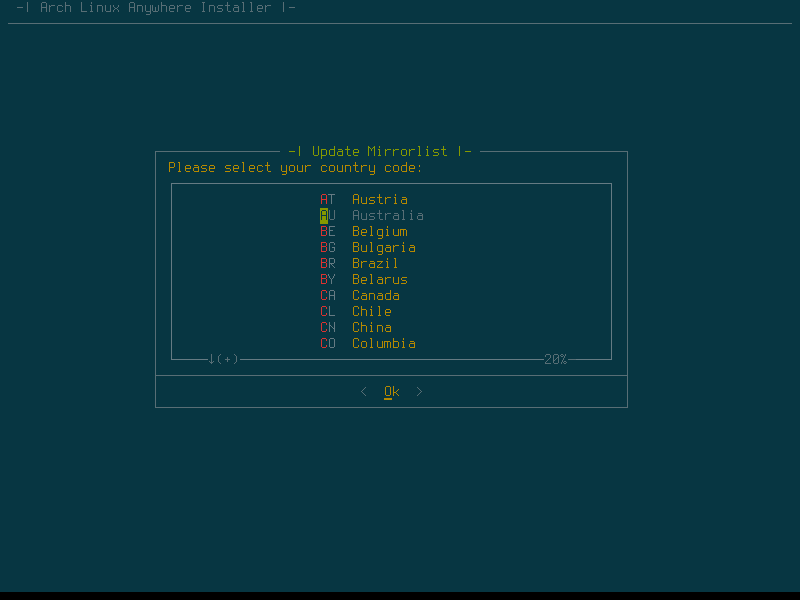
Select the country code for where you are living.
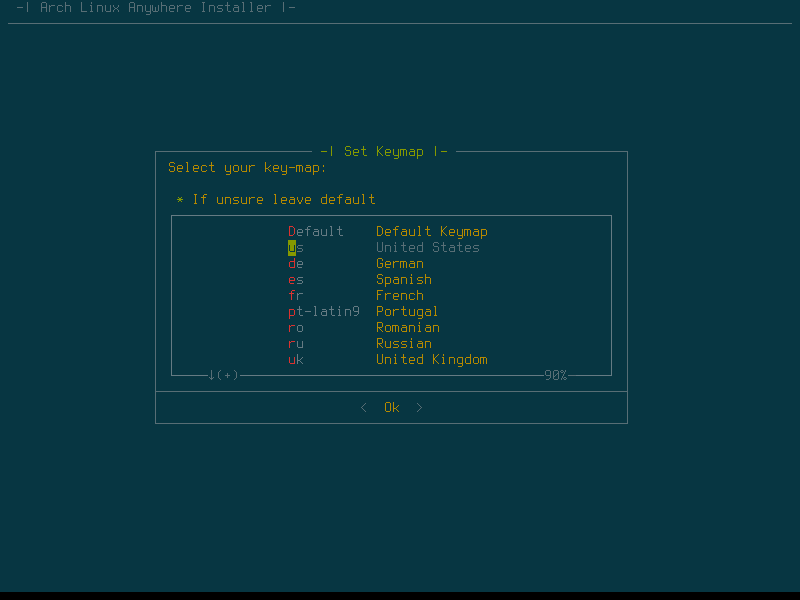
Select the appropriate keymap for your keyboard.
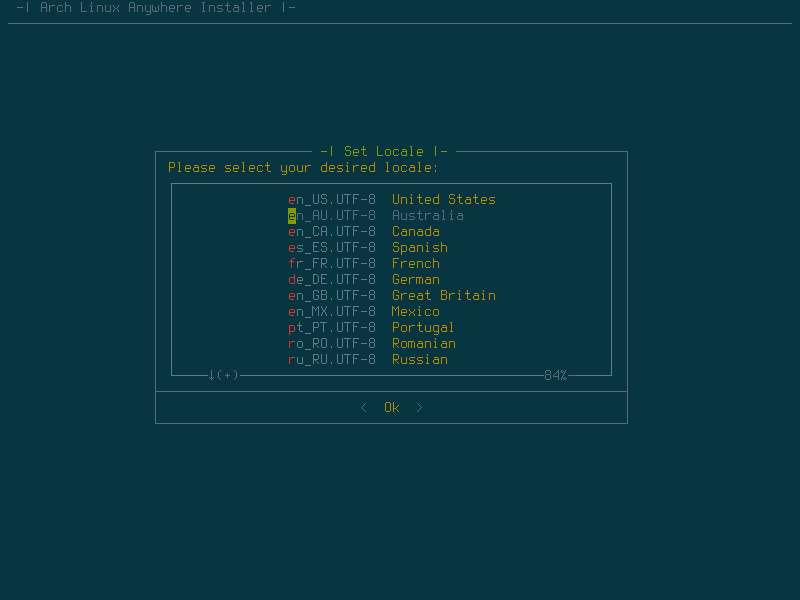
Select the appropriate locale to match your language region.
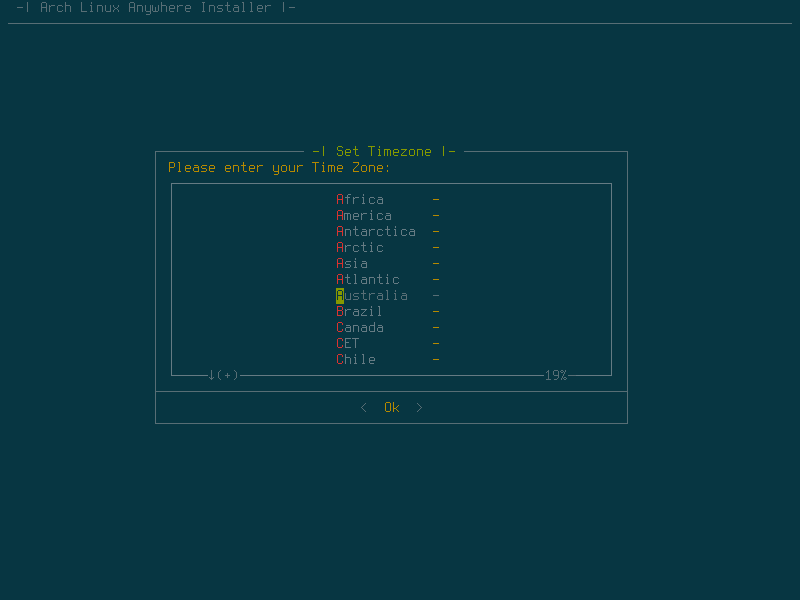
Give the installer your timezone to setup the date and time properly.
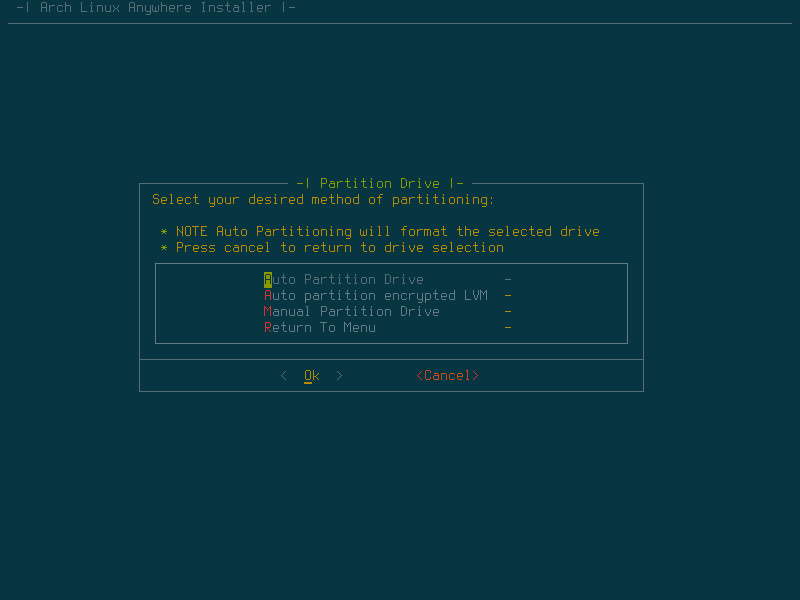
The auto-partitioning option will be fine if this is to be installed on a dedicated machine or a VM.
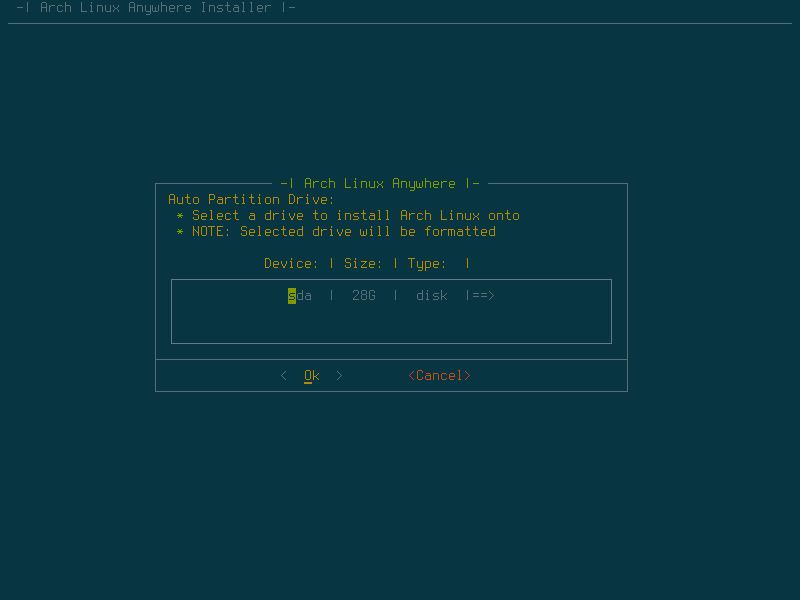
Select the drive to be partitioned. In my case it is /dev/sda.
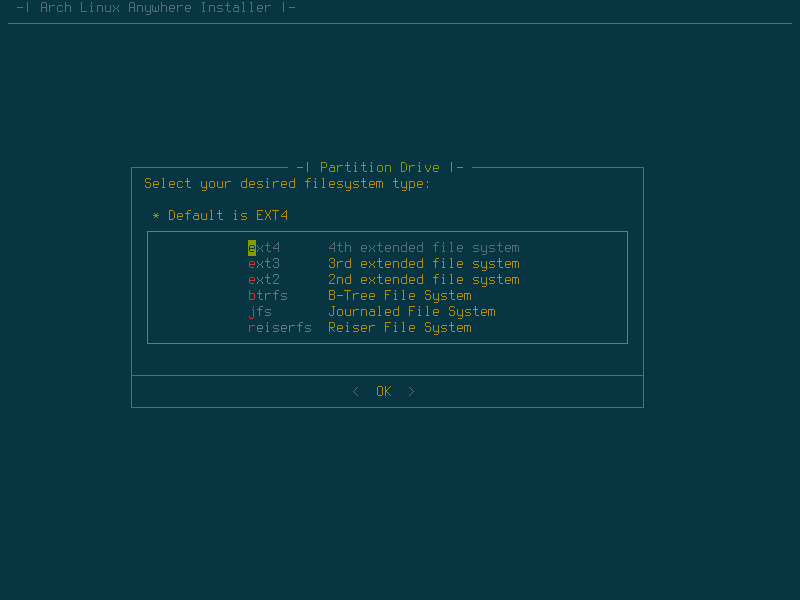
Select the appropriate filesystem for your partition(s).
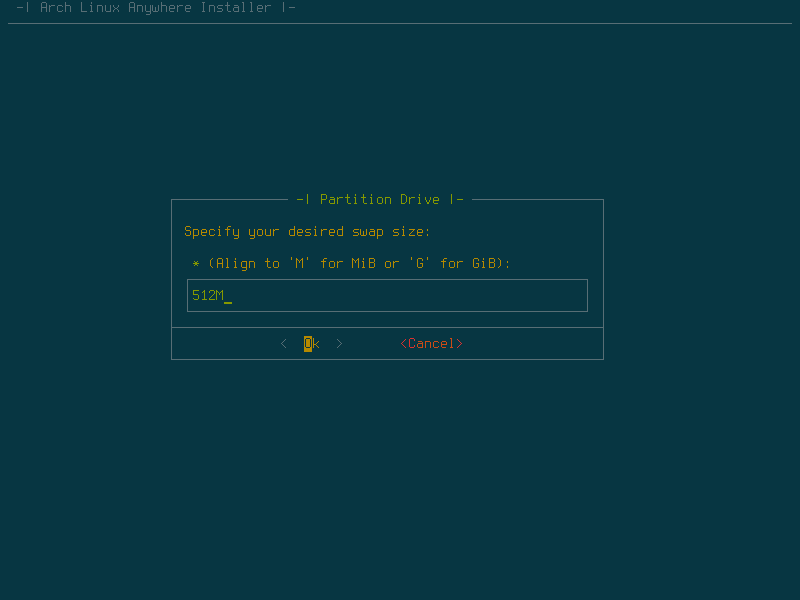
We do need swap space for our installation.
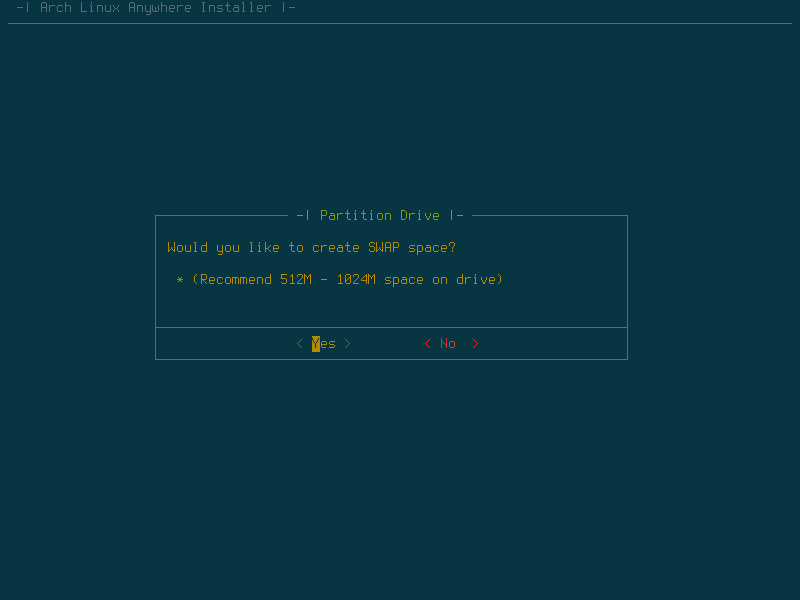
Set the desired swap space size. 512MiB should be enough.
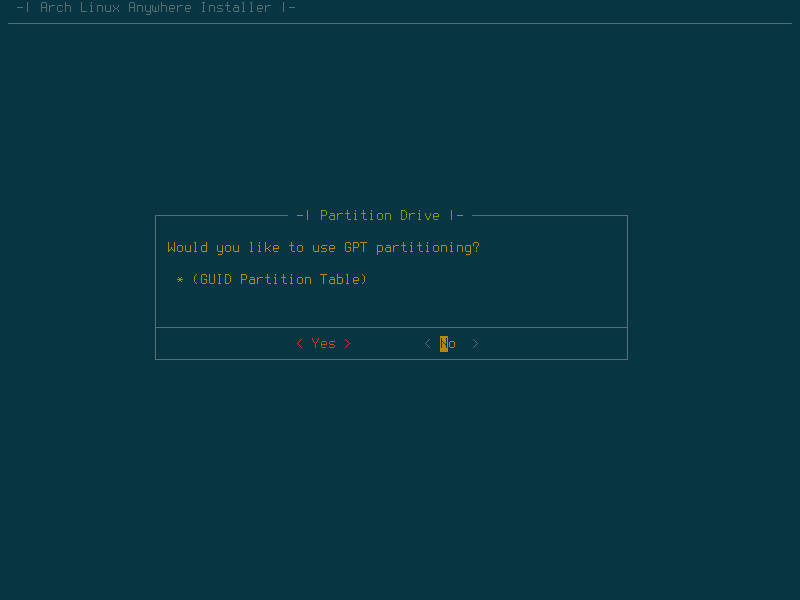
I chose yes for this option.
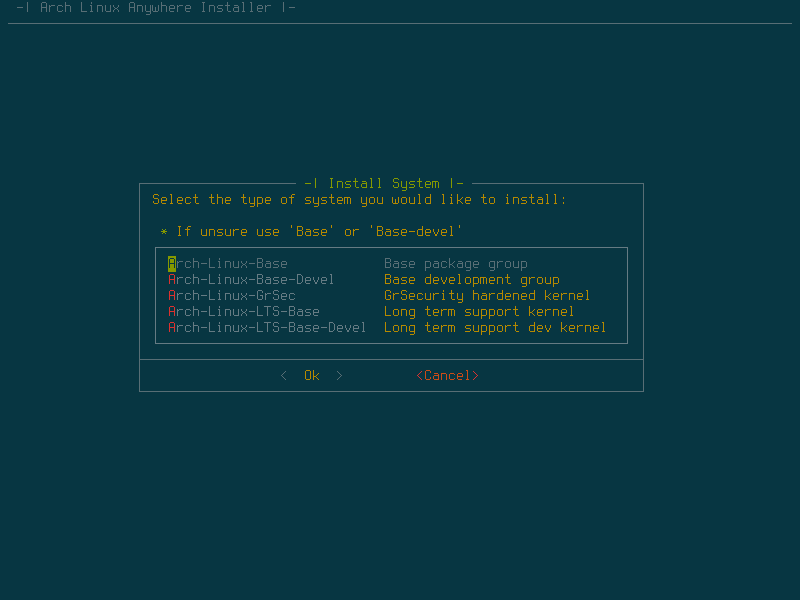
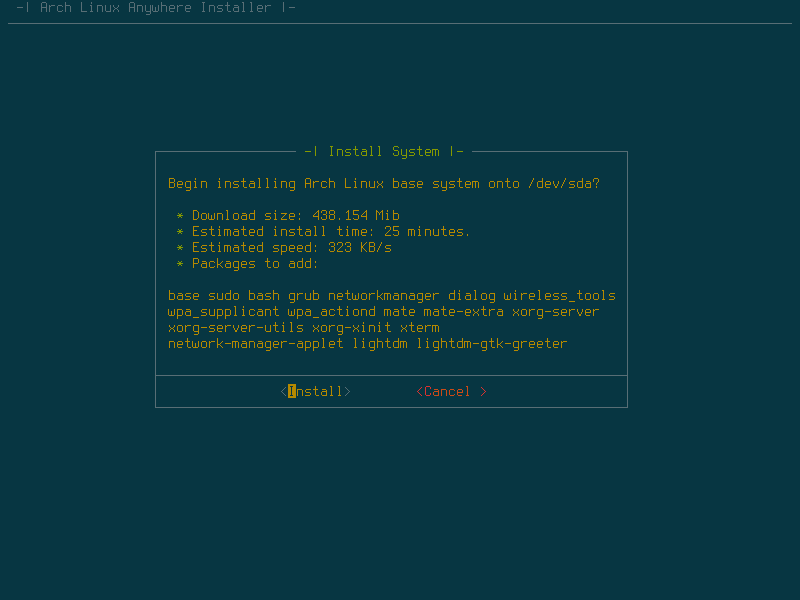
Now choose write changes on the next screen and the partitions will be created and formatted. Now we need to choose the software to install for our new Arch Linux system.
Choose the arch-linux-base option here.
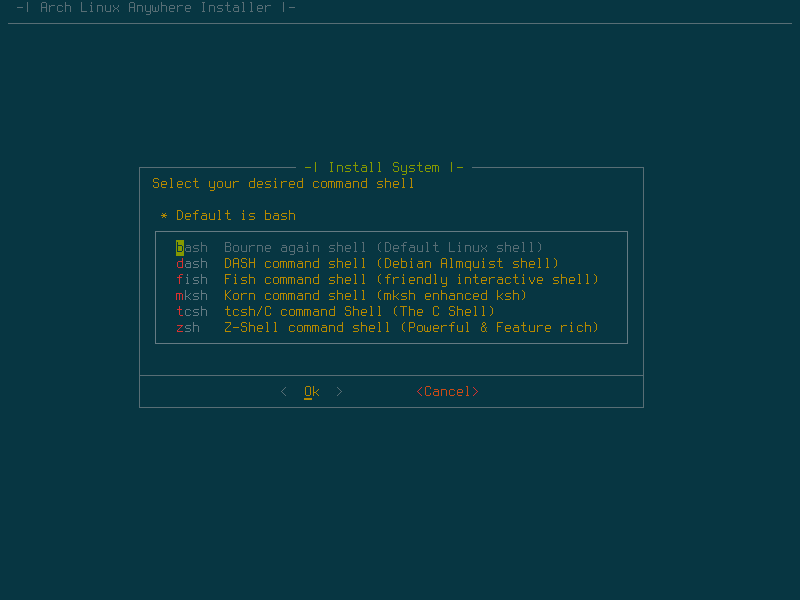
The BASH shell is fine for our needs, so we choose that option.
The GNU GRUB boot loader is required to boot our system, so make sure it is selected.

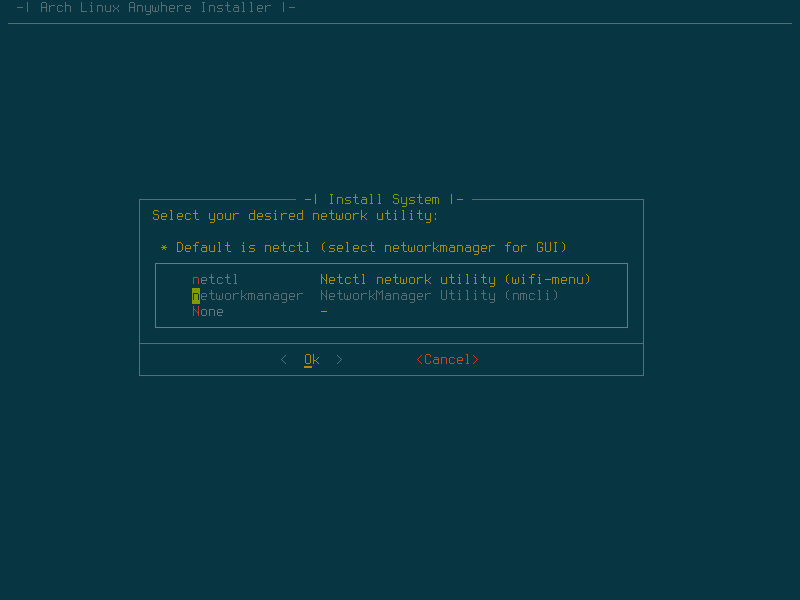
The MATE desktop will be installed, so make sure network-manager is selected.
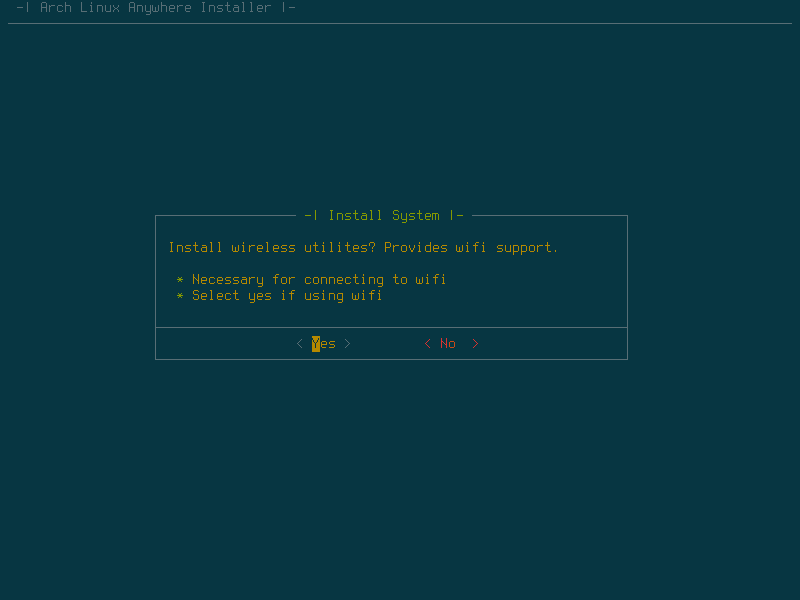
I chose to install this even though it was not necessary, as I might add a USB wifi stick to my VM.
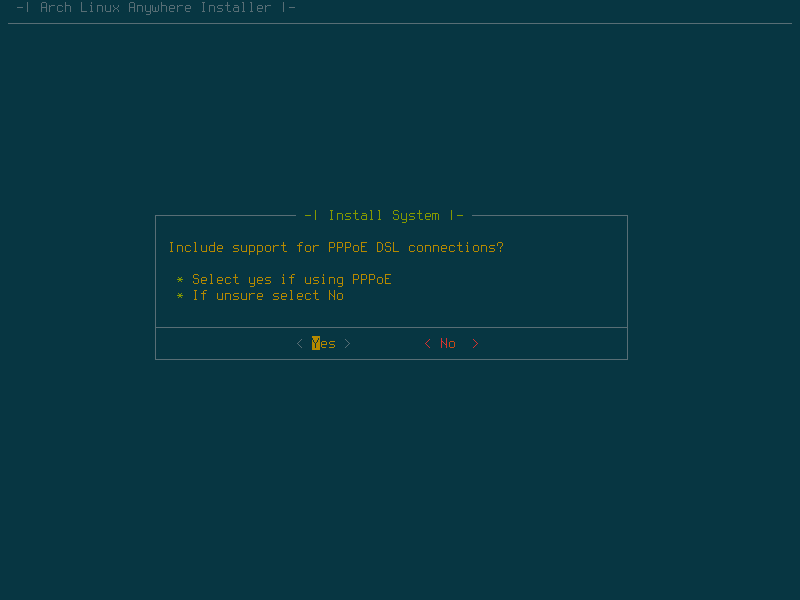
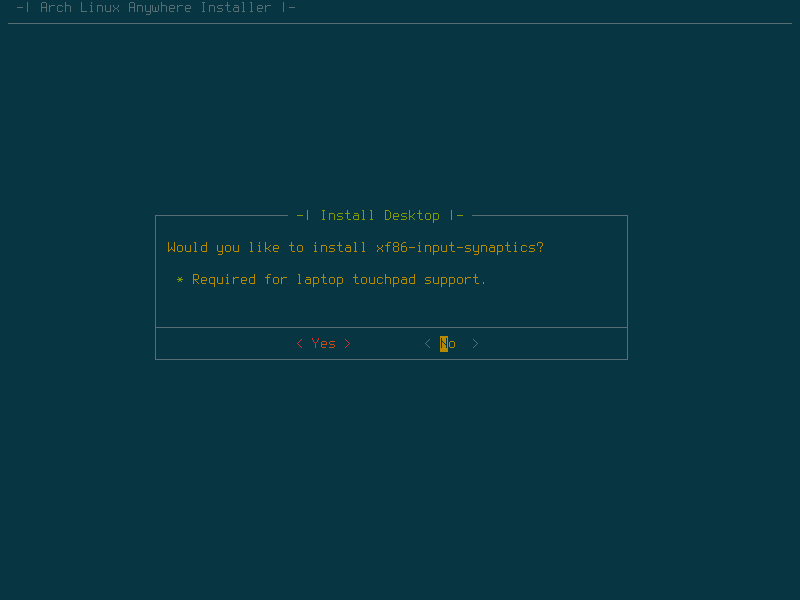
This might not be necessary.
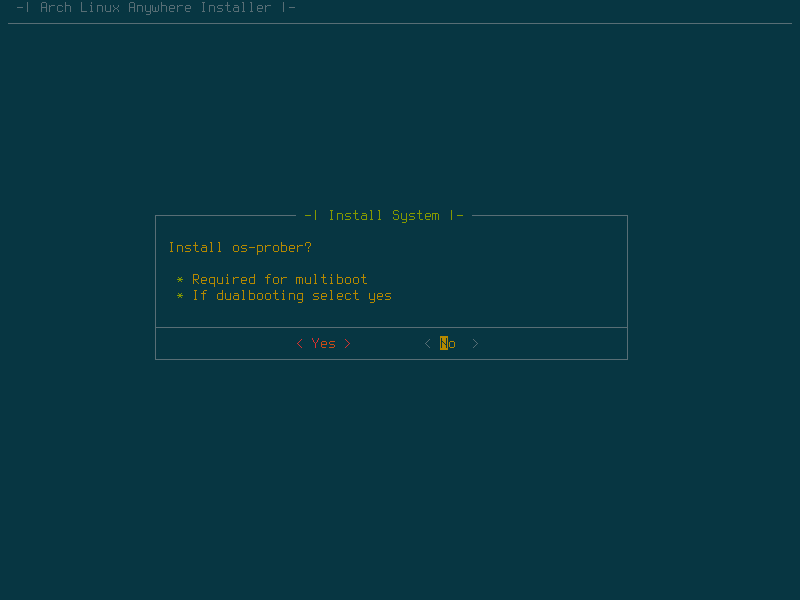
This option is really not necessary for a Virtual Machine.
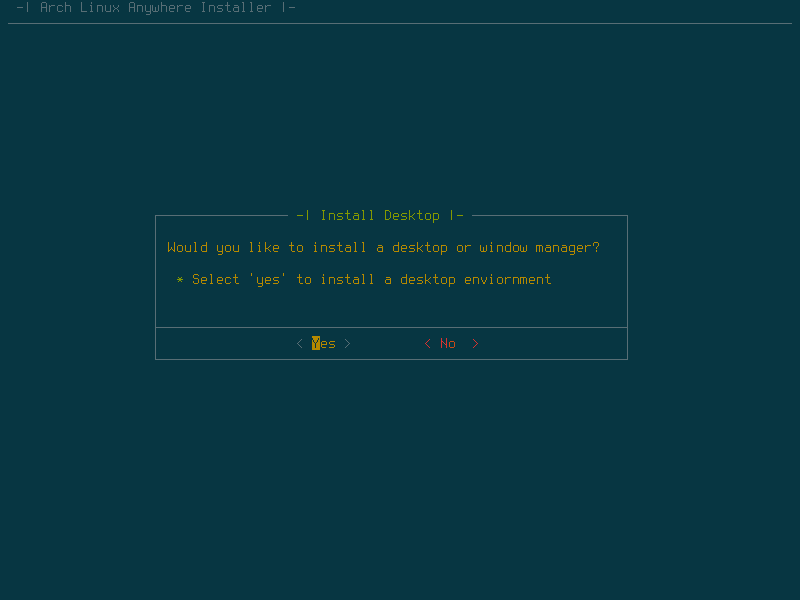
I am choosing to install the MATE desktop environment for my purposes as it is light and easy to use.

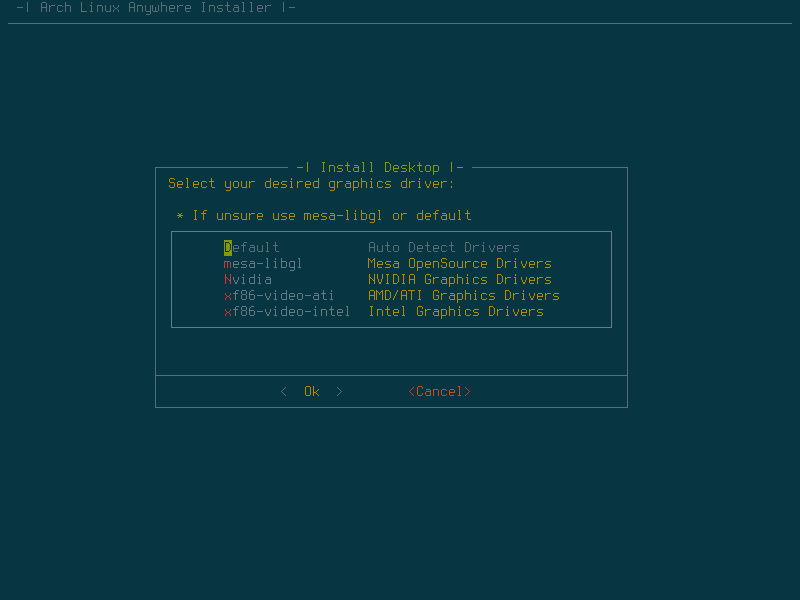
The mesa-libgl drivers are very common and are required to properly setup a working Linux desktop if you wish to use GL apps.
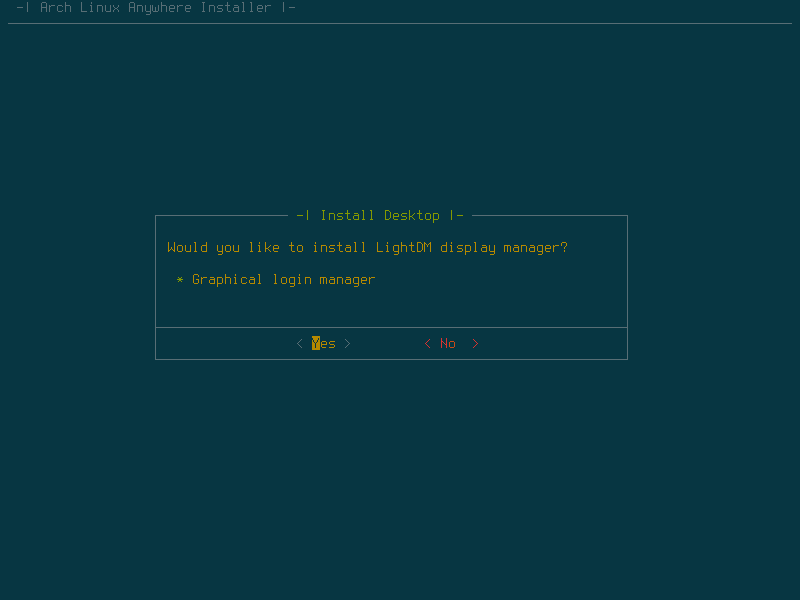
We need an Arch Linux display manager to make sure we can log into our graphical environment.
Now to begin the long process of downloading and installing all of the selected Arch packages.
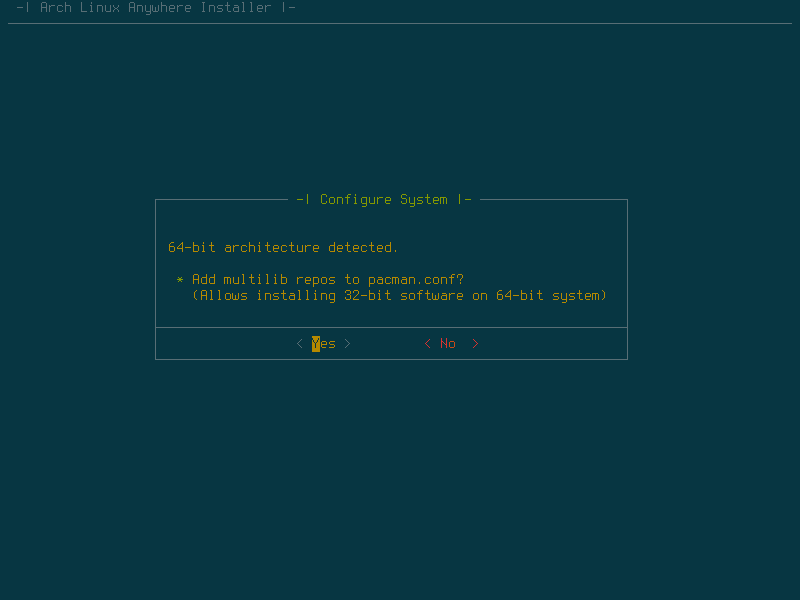
Multilib support allows the running of 32-bit programs on a 64-bit system, so it would be a good idea to choose this option.
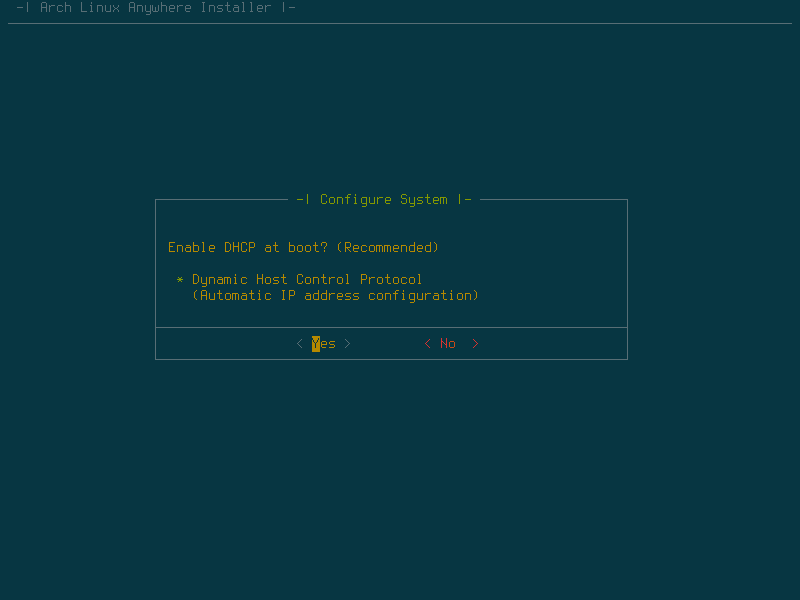
Make sure we enable DHCP at boot to make sure our networking is up and running on boot.

Now the only thing left to do is set a password for the root user and create a new user account for day to day usage. Then choose to reboot the system and it will reboot and soon show you the login screen.
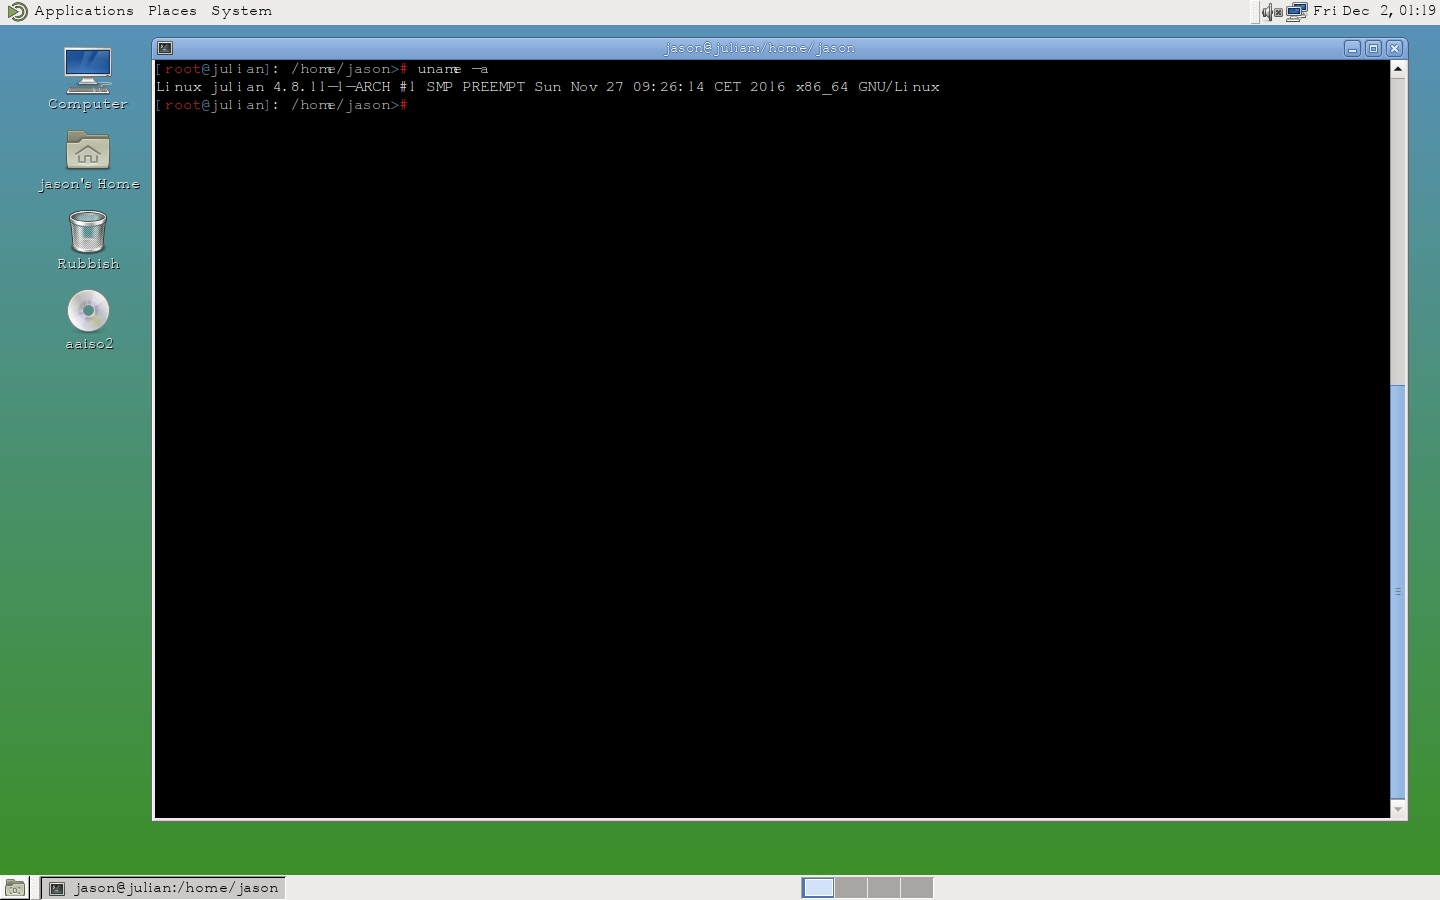
This is how easy it is to get Arch Linux installed on a desktop machine or a VM.