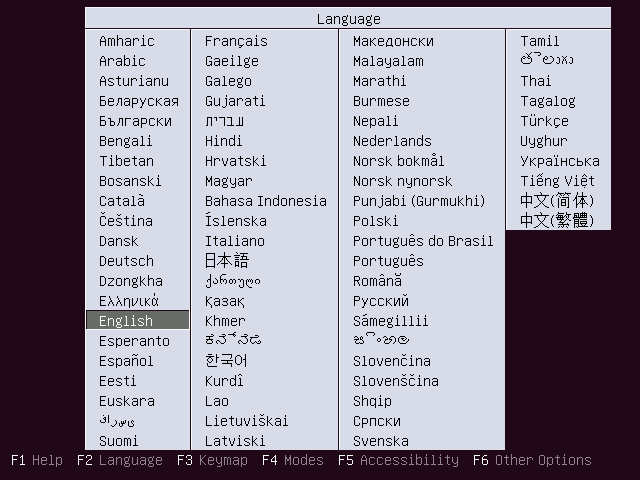
Installing Ubuntu server is quite straightforward. Firstly, choose the language.
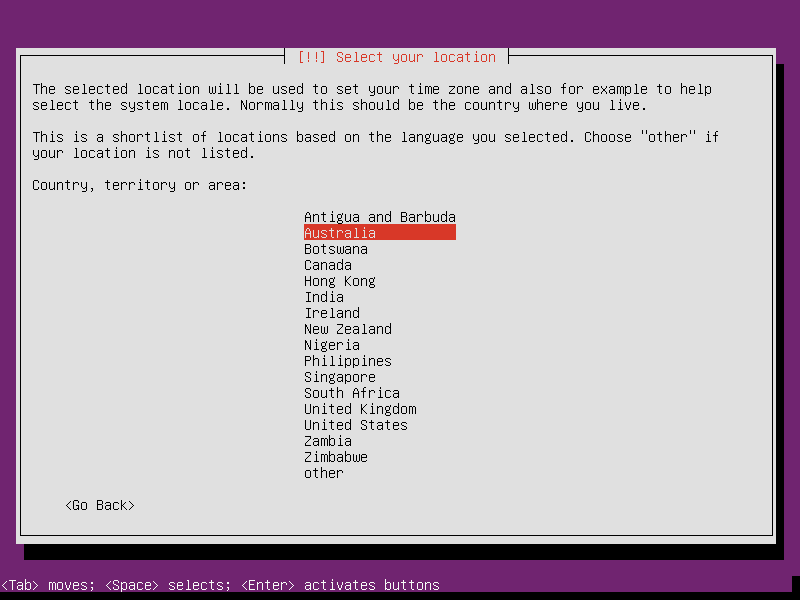
Then the user needs to choose what country they are in.
And choose what keyboard layout you are using. After this is out of the way, we get to the main installation tasks.
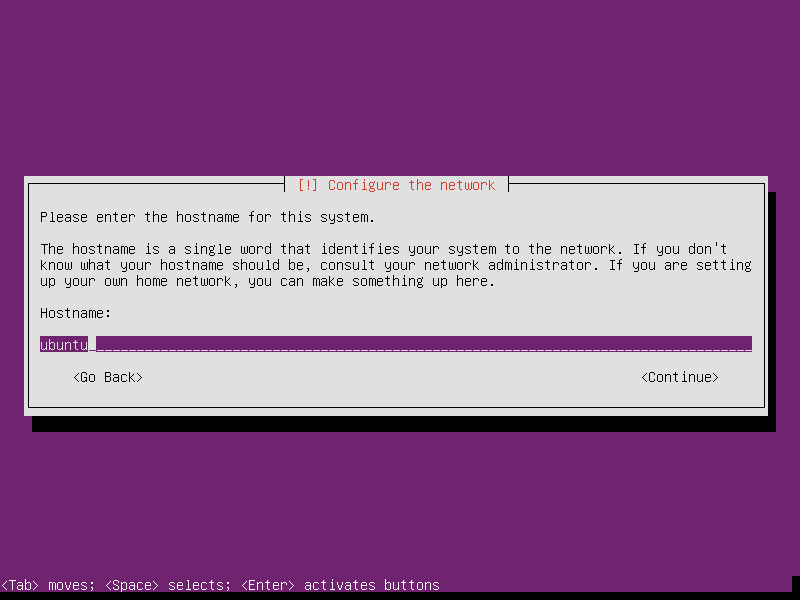
We need to choose a hostname for our server instance.
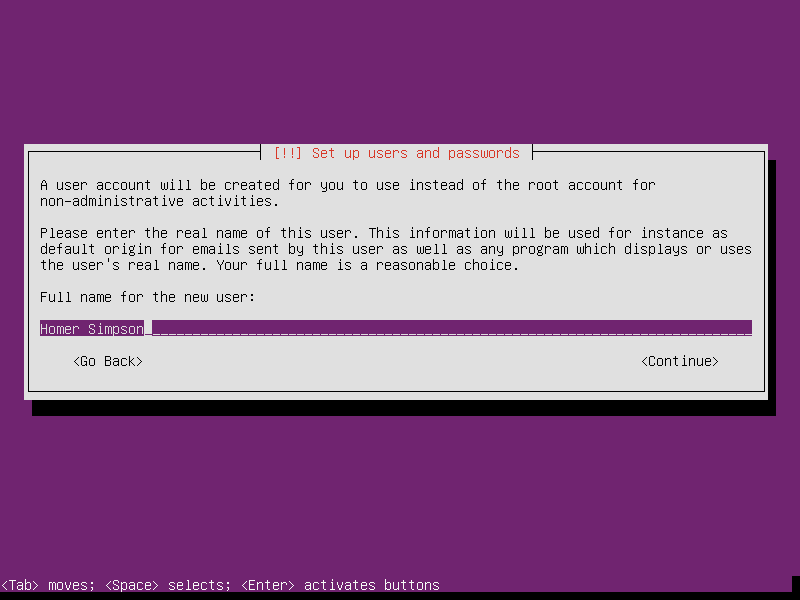
Now we need to choose a full name for our server user…
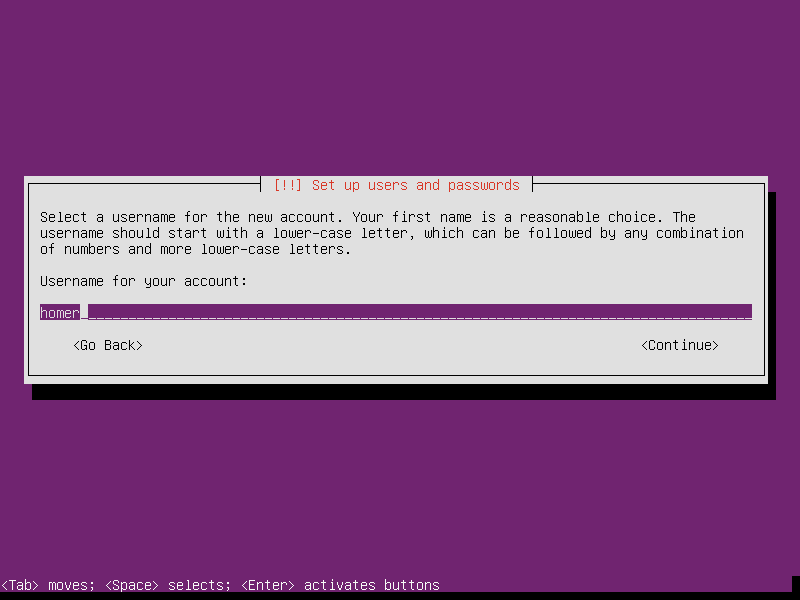
And choose a username we will login with.
And give them a password.

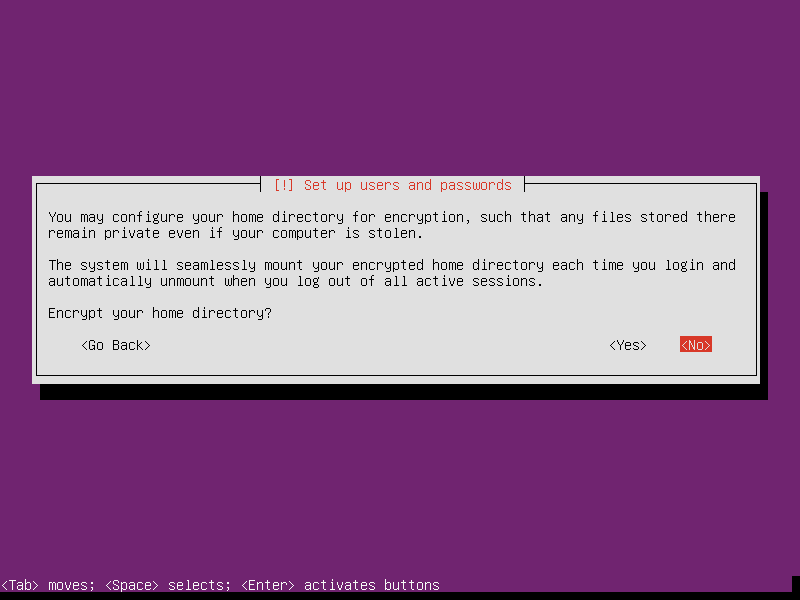
The password will need to be reentered to verify that you have entered it correctly. Now you may choose whether or not you want to encrypt your home directory for security reasons. This is optional though.
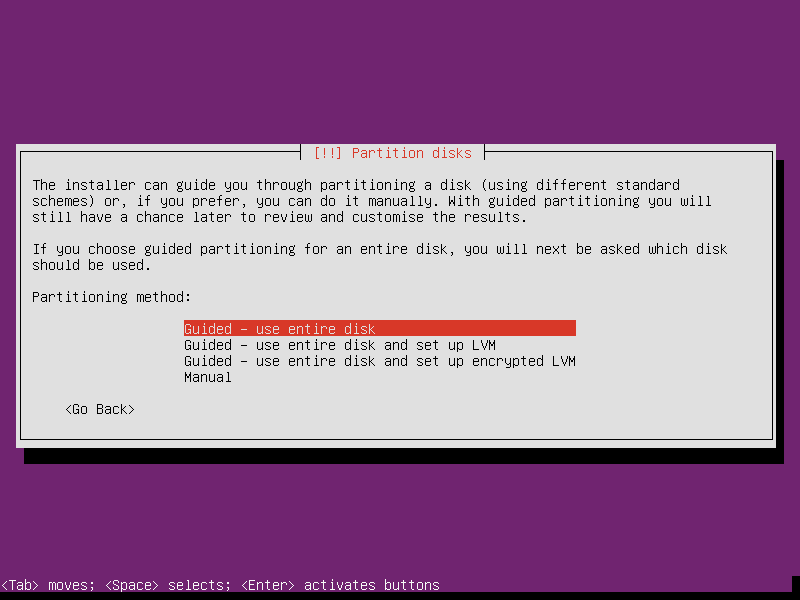
Now choose the timezone you are located in. This is essential to set the proper time on your Ubuntu server. Once the proper timezone is set, the partitioning screen will appear. The best option is to choose the “guided – use entire disk” if this is on a drive with no other operating systems or data on it.
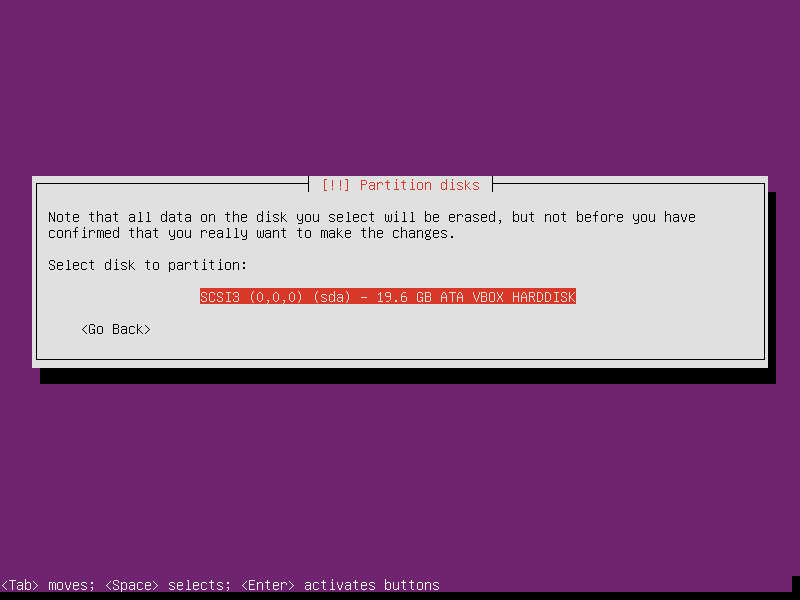
Now choose the device/partition that will hold our server operating system. We only have one, so this is simple. Just press ENTER.
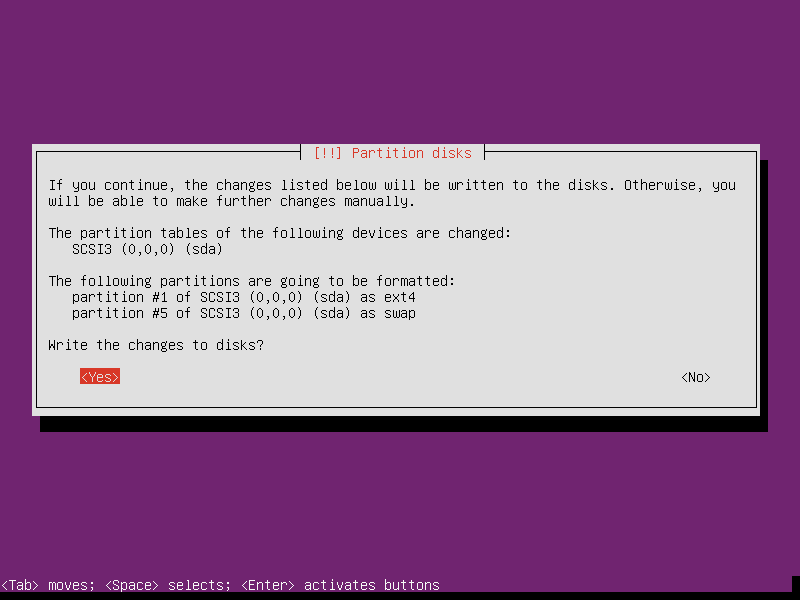
Now we can review the changes that will be made to disks when the partitions are created. Just select yes and press ENTER if you are satisfied.
Now you may go and fetch a coffee whilst the system is installed to the hard drive. This will install a basic command-line only server instance that may be built upon by installing extra packages.
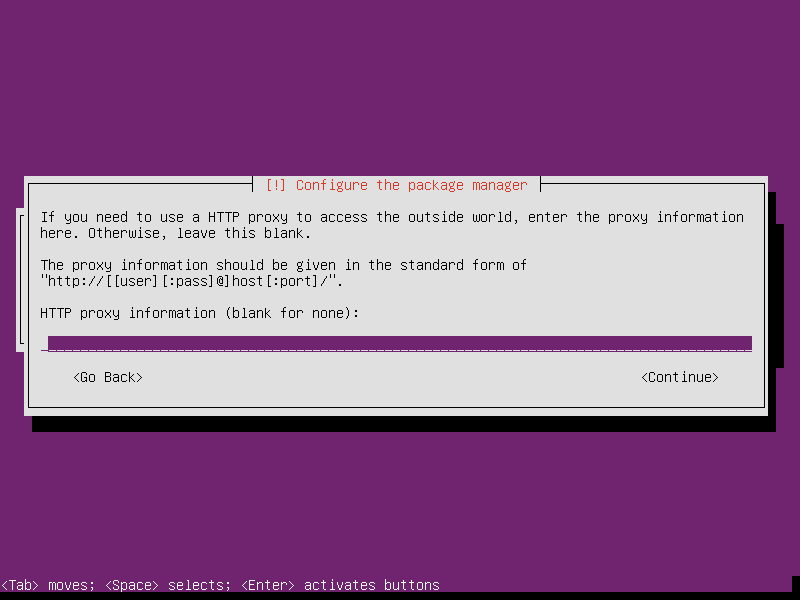
If you are not using a network that requires a HTTP proxy, just press ENTER at this screen.
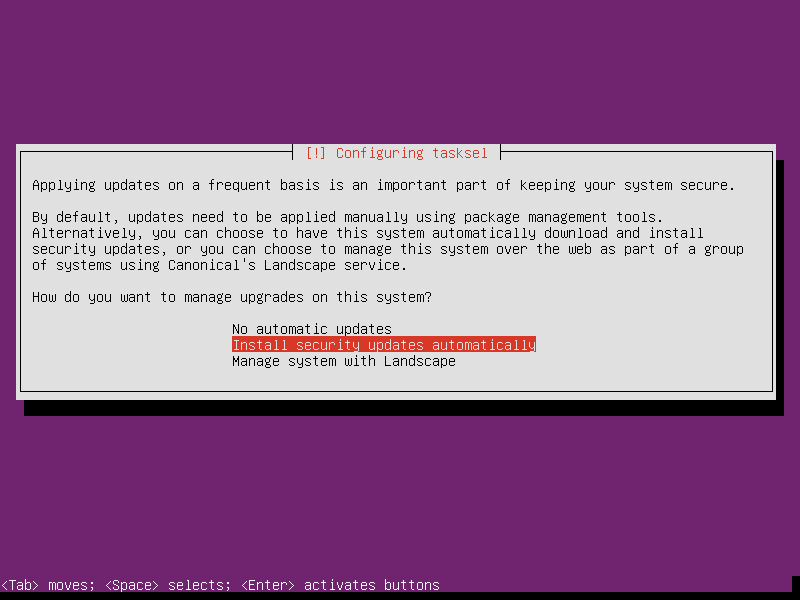
And yes, we do want security updates to be installed automatically if we are using this is a production server, this is just good practice. Instead of patch Tuesday…
And this is the screen where we choose our server roles. I have chosen to install the OpenSSH server for remote administration and the LAMP, ‘Linux Apache MySQL and PHP’ for our web server needs.
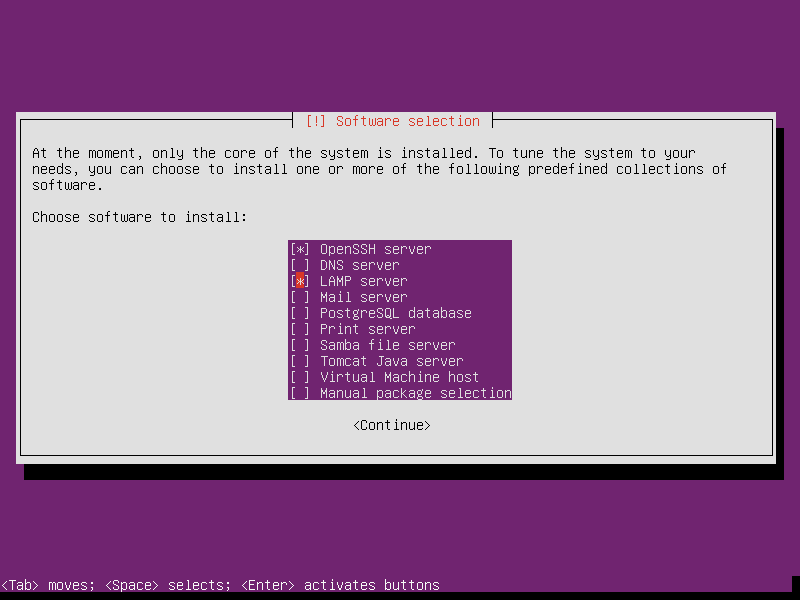
Press TAB to select continue and hit ENTER.
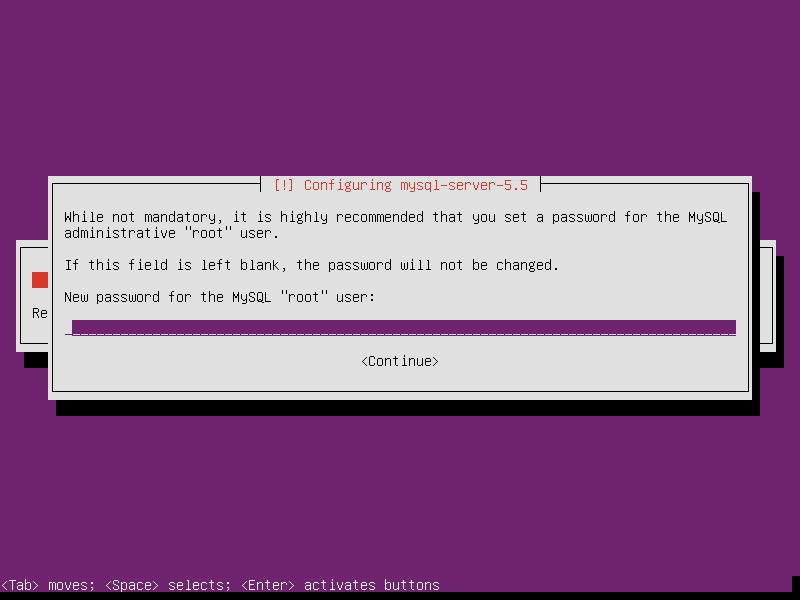
Then you will need to set a password for the MySQL root user. This is very important!
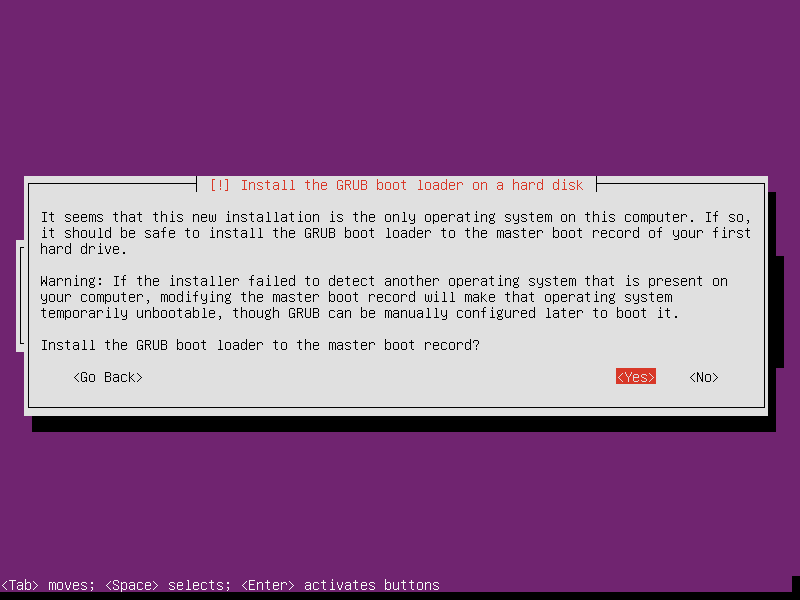
The last task is to install the GRUB bootloader to the MBR of the hard drive. Since this is the only operating system installed, we can just press ENTER here.
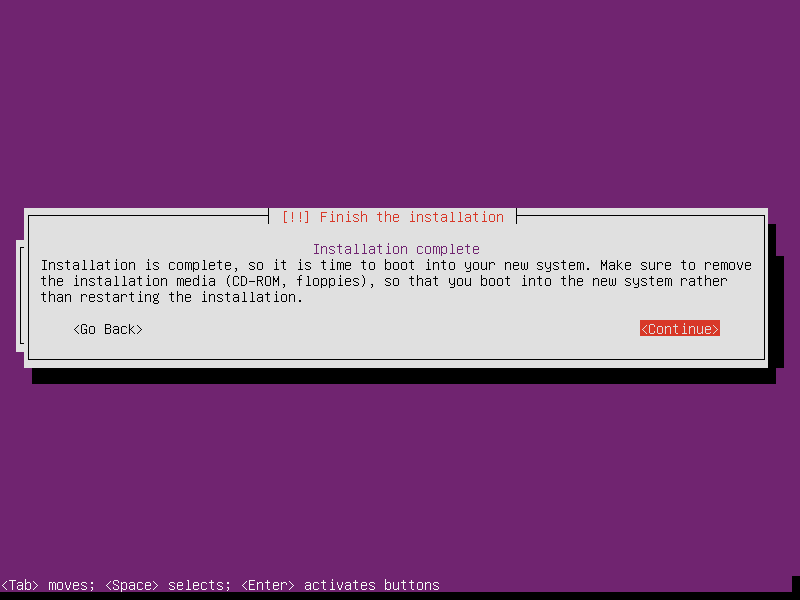
And we are all done!
The Ubuntu server system is now running!
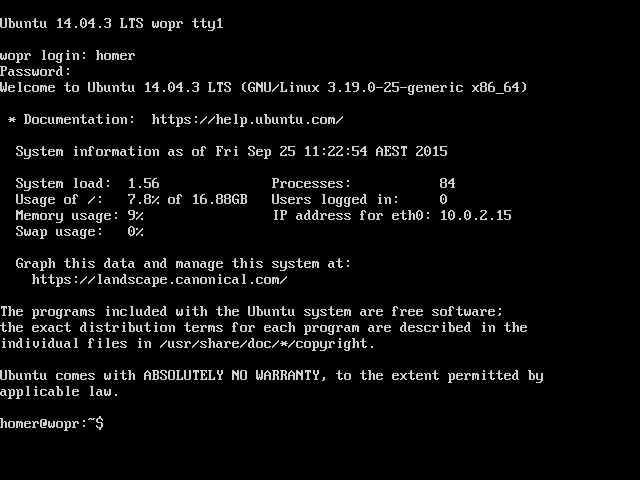
That is how easy it is to install an Ubuntu server instance. This allows a user to easily setup a LAMP or MySQL server with a very secure operating system and reliable Linux base. So give this a try and see what you can achieve with a simple and easy to use interface. Once you have rebooted into the server OS, login and run sudo apt-get update && sudo apt-get upgrade to install any pending updates. This is a very important step.